
Knowledge Base
Knowledge Base
Setting Up Folders
Shanon Mulley on September 16, 2013
This article will describe how folders should be set up and shared to work with DecEzy.
Although DecEzy is a database application, storing its information in a single centralised database, not everything is stored there. Some things, such as decoration files or images, can be stored directly on your computers disk drive (decoration files always are, images can be depending on your settings). This is because it is just not practical to store decoration files within the database, as other applications may need to access these files.
With this in mind, we need to set up folders appropriately, so all users and applications can access the files. This is especially important when working in a multi-user environment.
It may be tempting to just put them on one of your computer’s hard disks, such as "C:\Embroidery Files" on the computer connected to your embroidery machine. While this will work in most situations, it will cause problems when you start using the files within DecEzy. For example, if you connect a given file (for example, "C:\Embroidery Files\logo.dst") to a job in DecEzy, DecEzy will store that path as text ("C:\Embroidery Files\logo.dst").
Now, if you go to another computer, and try to edit or open that file from within the job in DecEzy, it won’t open, as "C\Embroidery Files\logo.dst" does not exist on this second computer. Even if the original folder ("C:\Embroidery Files") is shared and mapped as "Z:" on the second computer, it won’t work, as the path needs to be "Z:\logo.dst".
The way to ensure things work smoothly across all computers on your network, is to ensure the folder where you keep your decoration files is consistent for all computers using DecEzy. To do this, we need to share the folder(s) where the decoration files are stored, and map them the same for each computer (even the computer that the files are on!), by following the steps outlined below. Please note that there are several ways to share folders in windows. The method shown below is one method that works within Windows XP.
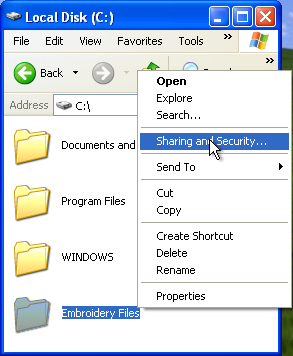
On the computer that stores the decorations, right click on the folder the decorations are stored in, and select "Sharing and Security":
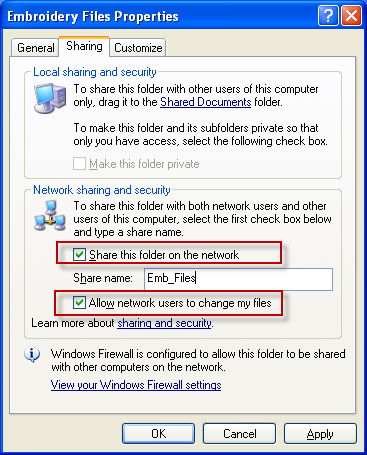
In the folder properties window that appears, ensure the "Share this folder on the network" checkbox is checked. Also, if you wish for other computers to modify or add files to this folder, also check the "Allow network users to change my files". When this is done, click on OK.
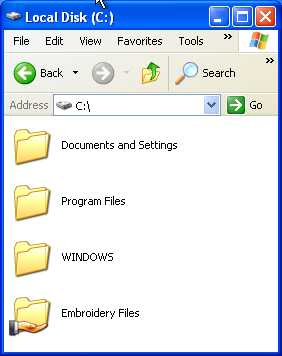
The shared folder should now have a hand under it, showing it is shared. (on different versions of windows, this may look different).
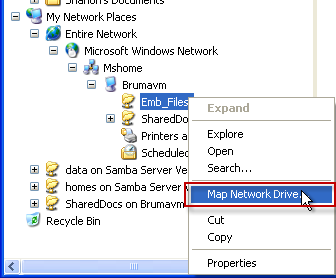
On the same computer, now go to network places within windows explorer, and find this computer, and the folder you just shared, as shown below. Please note, that in the example below, "Brumavm" is the name of the computer the folder was shared from, and "Mshome" is the windows workgroup the computer is on.
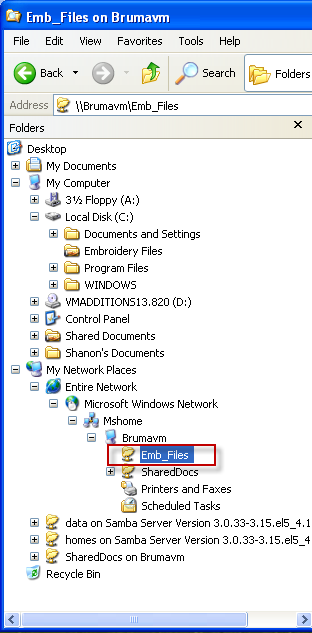
Right click on the folder, and select "Map Network Drive"
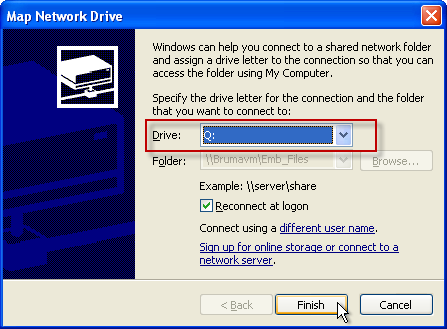
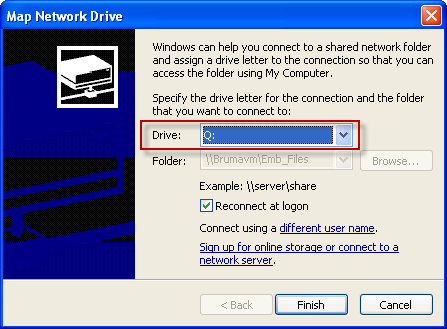
You will be prompted to select a drive letter for the share. This is an important step – you need to be careful what drive letter you use. You want to use a drive letter that is not being used by any computers on your network at the moment. This may be tricky if you are already sharing folders, and some letters are already taken. After you have confirmed that a given letter is not being used on any other computer, select this letter as the drive letter. In this example, we are going with "Q:".
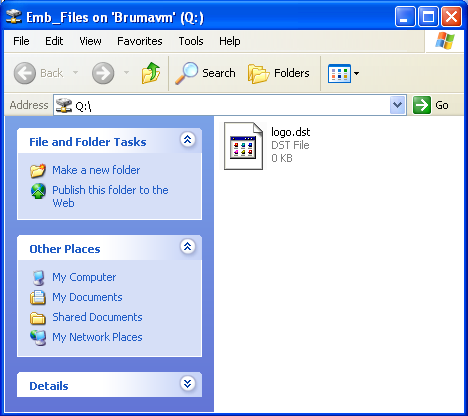
When you click on Finish, the mapped drive (Q: in this instance) will open up, showing any files within it:
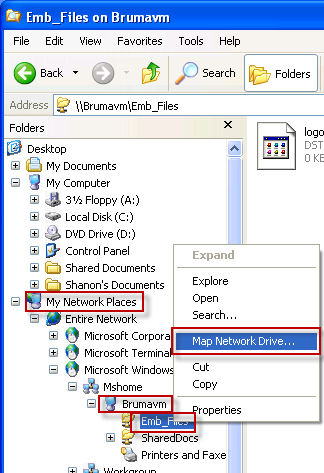
Now we need to map this folder (C:\Embroidery Files) on any other computers. Go to one of your other computers, open up windows explorer, and find the shared folder in "My Network Places". Once found, right click on it, and select "Map Network Drive", as shown below. (You will need to follow these steps for each other computer)
The Map Network Drive window will open. Select the same drive letter you entered earlier (Q: for our example), and click on "Finish".
Your mapping should now be complete. You will need to ensure you always use Q: when working with decorations within DecEzy, and all should go smoothly.